A lot of web hosts have Let’s Encrypt built into the CPanel. Not mine. I was kinda annoyed. I tweeted at them to ask if they’d support it. They wouldn’t. So I decided I would make it work myself. To do this is pertty simple. I’m just going to start by copying and pasting text from a previous article.
Open up your Terminal.app (Go to the Go menu, choose Utilities, double-click on Terminal). This isn’t even a step, you should know this.
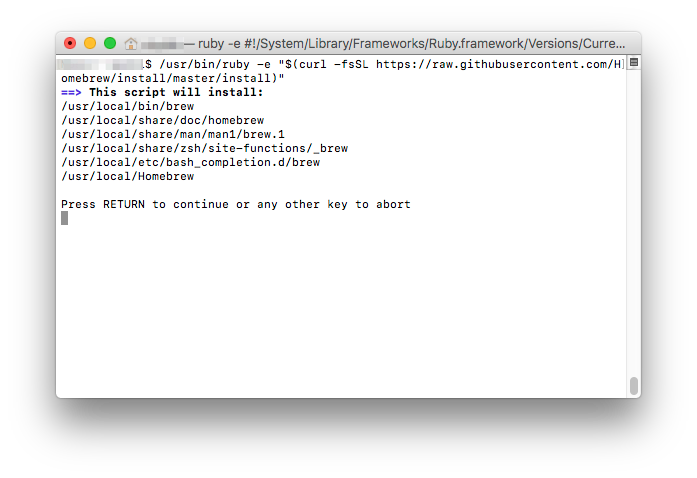
Step One – Install Homebrew
/usr/bin/ruby -e "$(curl -fsSL https://raw.githubusercontent.com/Homebrew/install/master/install)"

At this point, you will be prompted to press RETURN to continue. Press the return key.
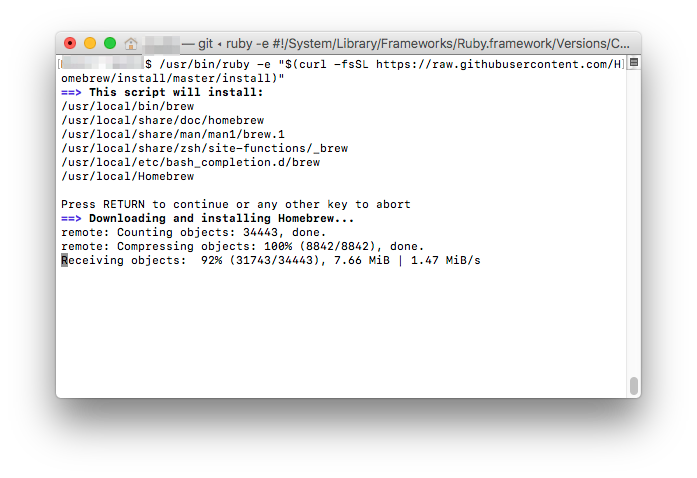
It will then start downloading and installing Homebrew.
Install XCode Select
Turns out you need XCode Select installed, too. So I ran this code.
xcode-select --install

That popped up a dialogue box, I said Install.

This install took a few minutes, and then once it was done, I was ready to install certbot.
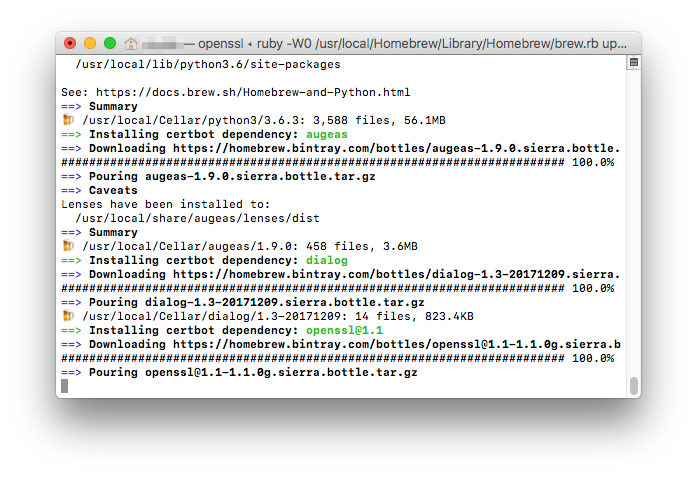
Install certbot
brew install certbot
That easy? Aye!
Begin the Process
sudo certbot -d anklewicz.com -d neverhadtofight.com -d www.neverhadtofight.com -d www.anklewicz.com --manual --preferred-challenges dns certonly
The program will ask you a few questions, if you’re okay with your IP being logged.
Then it will, for each included domain, ask you to set up a TXT record.
Setup DNS Records
Go to your CPanel, yourdomain.com/cpanel is usually the address. Click on the DNS Zone Editor.
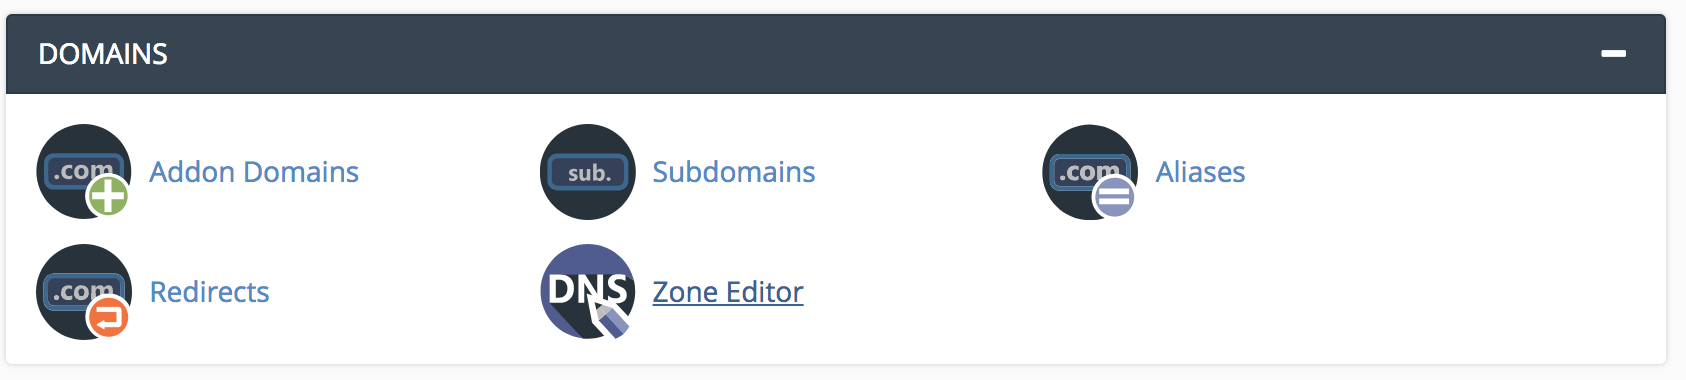
Choose the domain you want and click “Manage.”
Click the down arrow beside “Add Record” and choose to add a TXT record.
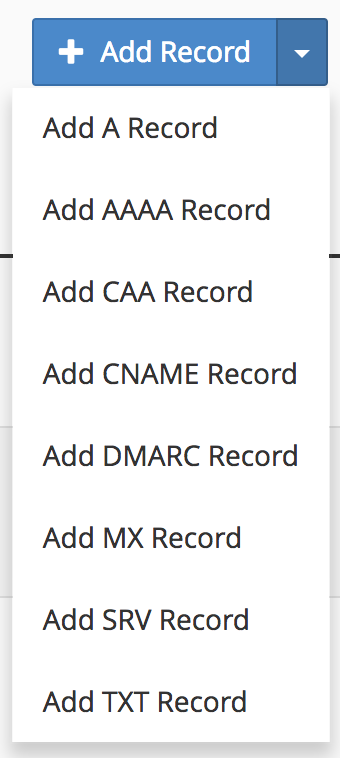
In the name field put what it told you in Terminal, aka _acme-challenge.yourdomain.com and under Record paste in the gibberish string that certbot told you.
Back to Terminal, press enter to proceed.
Repeat these steps for all domains.
Wait for it to validate your domains.
Copying certificate to desktop
Using the cp command you can copy the two files over to your desktop.
sudo cp /etc/letsencrypt/live/yourdomain.com/privkey.pem  ~/Desktop/privkey.pem

sudo cp /etc/letsencrypt/live/yourdomain.com/fullchain.pem ~/Desktop/fullchain.crt
Installing in CPanel
Go back to your front page of CPanel and look for SSL/TSL, and click on that link.
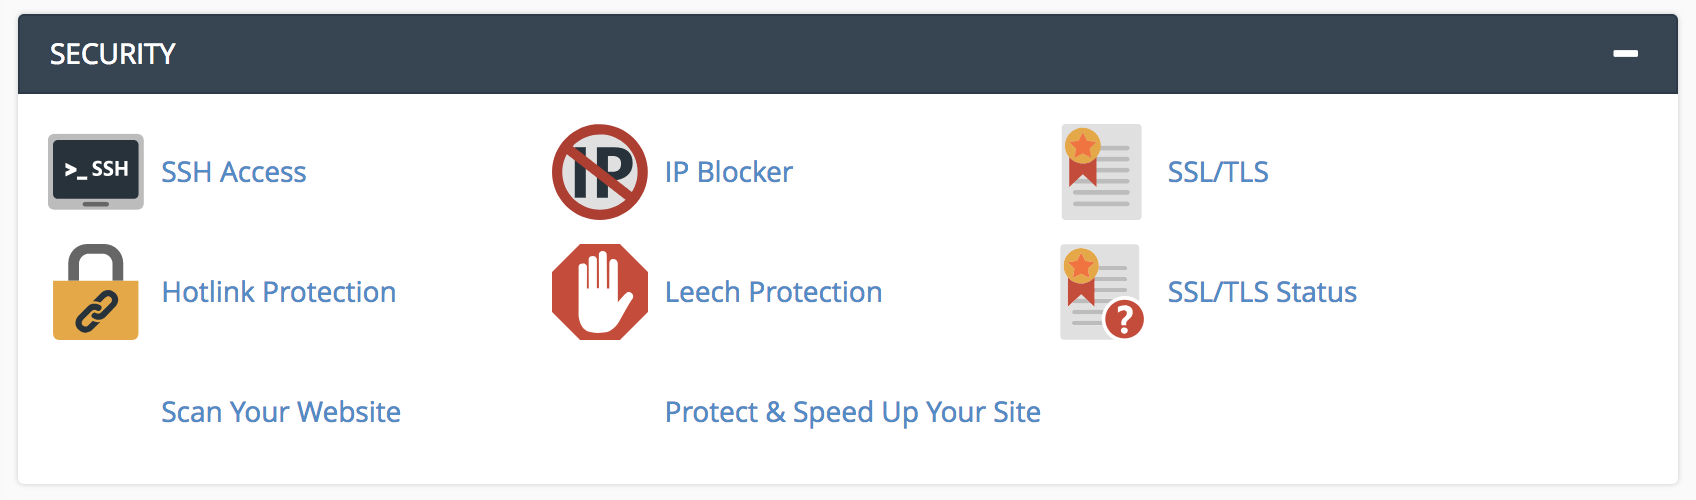
Click on “Generate, view, upload, or delete SSL certificates.”
Scroll down to find “Choose a certificate file (*.crt).”
Upload the CRT file.
Your list of certificates at the top will update and beside the new one, click on Install.
Open the privkey.pem file in a text editor, like BBEdit, and copy it’s contents.
Paste that into the key area and save.
You’re done.